Create
Connection to the SSAS
To create a Connection:
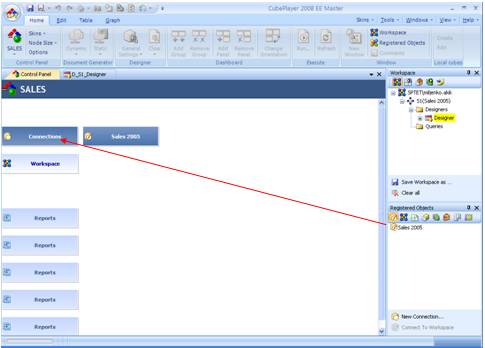
· Select Connections button
on the Control Panel
or
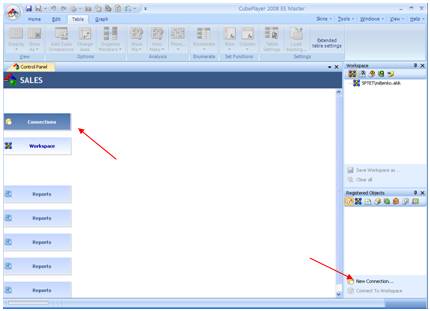
· Select New Connection
command line inside Connection
explorer
In this example we will use Connections button on the Control
Panel.
There are two (2) modes to input your server, database and cube
name:
·
brows (automatic) mode
·
manual mode
To switch between modes, select buttons at the top of dialog
form.
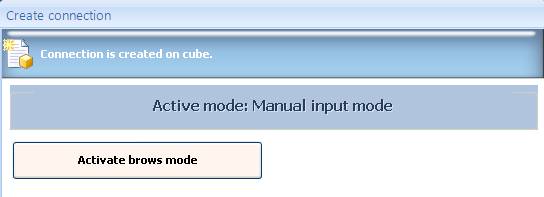
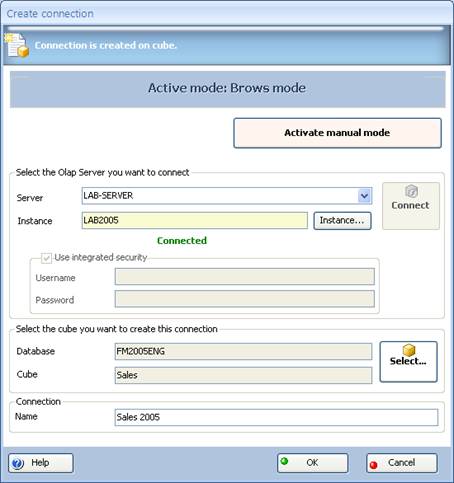
MANUAL MODE
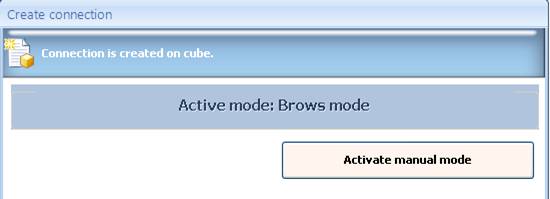
By default dialog is set to brows mode.
To change to manual mode, select button Activate manual
mode.
When manual mode is activated, input your server/instance, database
and cube name.
NOTE: If instance
is defined, instance name should be added in the same box
where server name is added in form
SERVER_NAME\INSTANCE_NAME
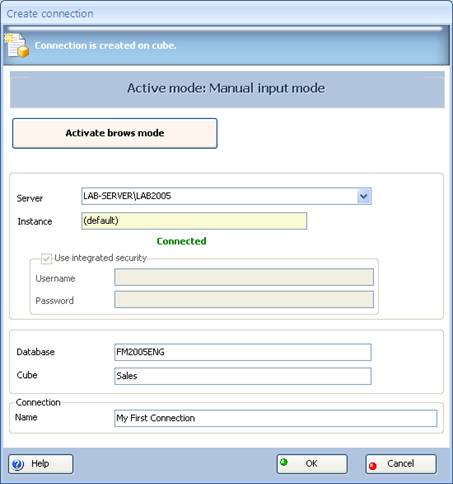
At the end you need to add connection name, some user friendly
name.
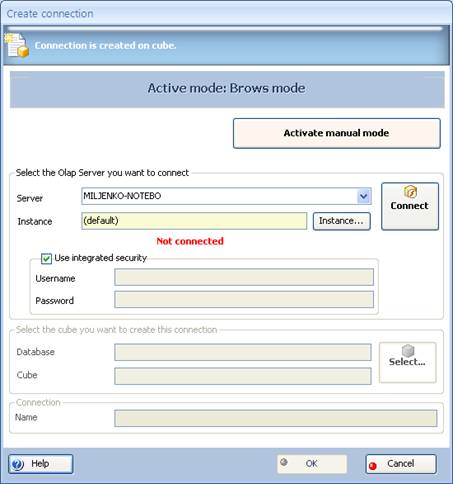
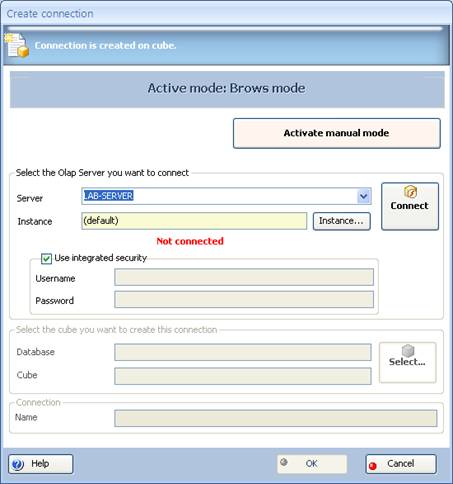
BROWS MODE
By default server name is your computer name. Since most of the users
need to find server on the network,
to brows your network:
· Select drop down menu
· Select Brows servers
command line inside dropdown menu
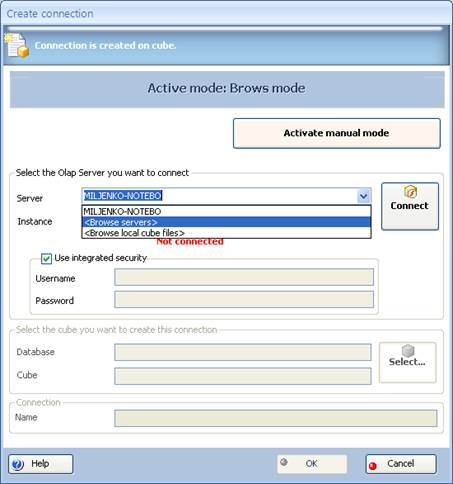
New dialog will appear:
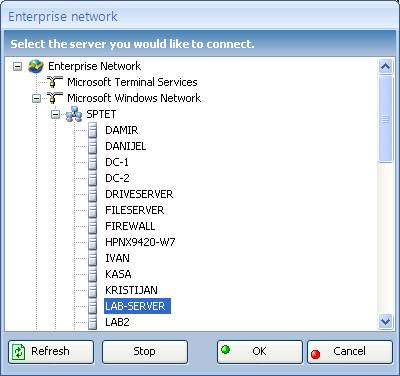
To select server:
· Select one of the servers from the list
· Select OK.
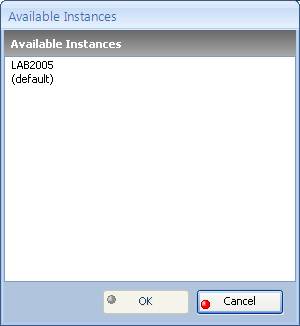
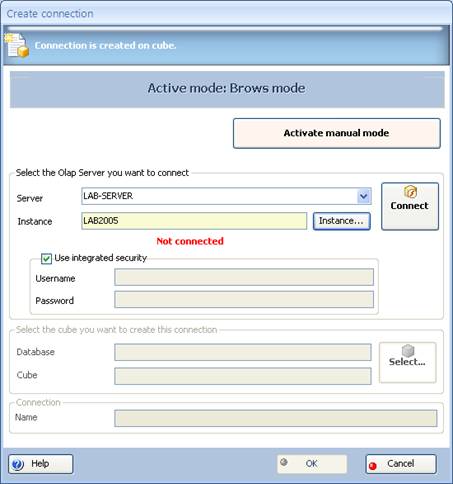
To select Instance, if you need:
· Select button Instance
…
· Select one of the instances from the list from new window Available
instances
· Select OK.
To connect to selected server:
· Select Connect
button
Wait until connection is established. Select button becomes
active.
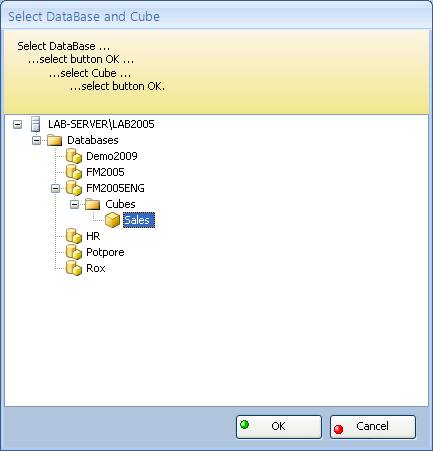
To define the database and cube:
· Select Select
button
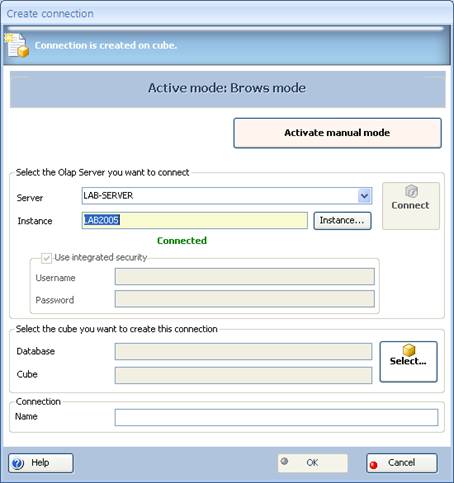
Dialog will appear:
· Select one of the databases with double click or single click and press
OK
· Select one of the cubes
from the selected database
· Select OK.
To finish this process
· Give user friendly name to the connection
· Select OK.
After some time Designer
will be opened.
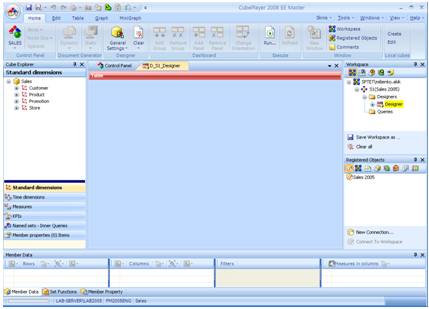
Now you can start creating your queries.
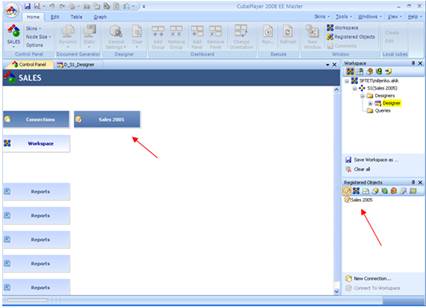
If you switch back to Control Panel by selecting Control Panel tab
(red circle) you will see that new connection button
Sales has been added to your Control Panel and new connection appears inside
Registered Objects window.
In case that you have used any other combination except the one we
described the only difference will be that there
will be no Sales button on
the Control Panel. In that case to bring your Connection to Control Panel just drag it from
Connections explorer.